

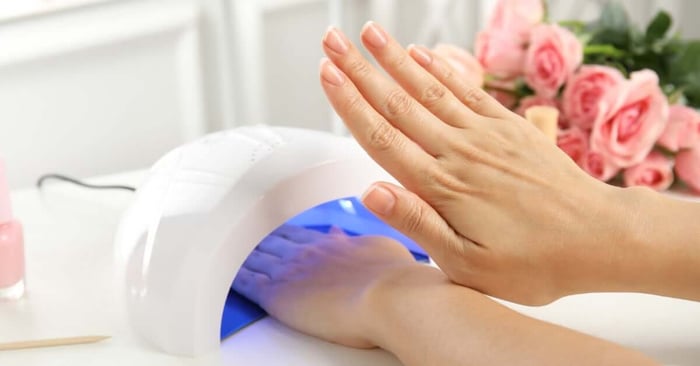

Gel services depend on more than placing a hand under a lamp and waiting for the timer. Product thickness, lamp performance, hand position, and application technique all affect how well the gel hardens from the surface through the full layer. When something goes wrong, the finish may wrinkle, feel soft, lift prematurely, or remain unusually sticky. These symptoms can look similar even when different mistakes caused them.
A clear troubleshooting process for common gel-curing problems makes them easier to identify. Check the product and lamp one step at a time, then review your application before changing multiple parts of the service. Once you identify the source, you can correct the technique and avoid repeating the same curing issue on the next set.
Check the Lamp First
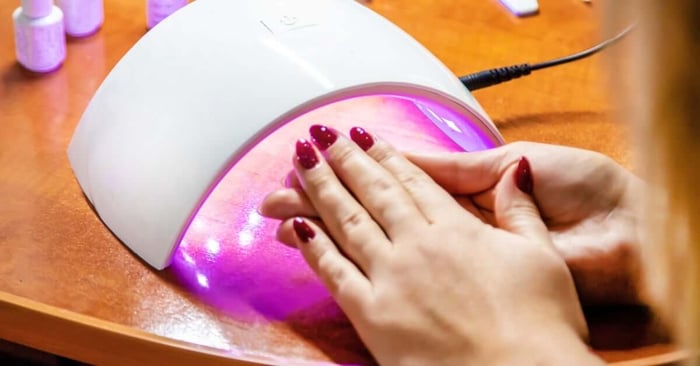
Start with the lamp because gel formulas require the right light exposure to cure properly. Use the lamp type and cure time recommended by the gel manufacturer.
When curing suddenly becomes inconsistent, look at the lamp itself. Make sure every diode turns on, and keep the inside clean so residue doesn’t block light. Replace a lamp that shows obvious performance problems rather than extending cure times and hoping for a better result.
Hand placement also affects light exposure. Ask the client to keep the hand flat and centered under the lamp. A thumb that turns away from the light can cure unevenly, especially when the lamp design directs most of its light to the center.
Keep Layers Thin
Thick gel creates one of the most common curing problems. Light has to reach through the product, and excessive thickness can leave softer gel underneath a firmer surface. Darker or highly pigmented colors can also require careful application because dense pigment can limit how deeply the light reaches.
Apply thin, controlled coats and follow the product directions for each layer. Don’t load the brush with more gel to speed up coverage.
The same principle applies when you work with builder gel. Build structure in controlled amounts and cure according to the formula’s directions. If you create a thicker apex or overlay, use the application method that the manufacturer recommends for that specific system. Avoid guessing based on the cure time of a different gel product.
Follow the Full Cure Time
Shortening the cure time can leave the product undercured, even when the surface looks firm. Set the lamp timer to the full interval listed by the manufacturer and let the cycle complete before moving to the next layer. Don’t pull the hand out early to check the finish.
Avoid adding random extra cure time as your first fix. A longer cycle won’t correct a lamp that doesn’t match the gel, nor will it fix a layer you applied too thickly. Find the cause before you change the timing.
Pay attention to every product in the service. Base gel, color gel, builder products, and top gel can have different application requirements. Follow the instructions for the product currently on the nail rather than using one cure routine for the entire set.
Read Sticky Gel Correctly
A sticky surface doesn’t always signal a curing failure. Some gels leave a tacky inhibition layer after the lamp cycle. Follow the product directions before you wipe it away.
Undercured gel feels different from a normal tacky layer. It may shift under pressure, wrinkle, dent easily, or pull away from the nail. Stop the service if the product shows these signs. Remove the affected gel and correct the cause before applying additional product.
Never cover soft gel with another coat or a top gel to hide the problem. A new product won’t repair uncured material underneath. Starting again at the problem area gives you a more reliable result and keeps uncured gel away from the surrounding skin.
Fix Wrinkling at the Source
Wrinkling often appears when the top of a gel layer hardens before the product underneath fully cures. Heavy application commonly creates that pattern. The surface may look rippled or folded after the lamp cycle, while the lower portion remains soft.
Remove the wrinkled layer completely. Then apply a thinner coat and cure it for the full recommended time. If wrinkling persists with thin coats, check lamp compatibility and hand position before reapplying.
Don’t file only the raised surface and continue. Filing can leave uncured product underneath. Clear the problem layer so you can rebuild on a properly cured foundation.
Watch the Thumb
Thumbs often cause curing issues because clients naturally rotate their hands inside the lamp. That movement can place the thumbnail at an angle that receives less direct light. Gel may then wrinkle on one side or remain softer than the product on the other nails.
Position the thumb so the nail faces the light source directly. Some services work better when you cure the thumb separately, especially if the client can’t keep the full hand flat. When available, use the lamp manufacturer’s placement guidance.
Check longer nails as well. A pronounced curve or extended length can affect how light reaches the sidewalls and free edge. Place the hand carefully and avoid letting the fingertips tilt upward during the cure cycle.
Prevent Flooded Gel
Gel that runs into the sidewalls or cuticle area creates more than a cleanup problem. Thick pools can cure unevenly, and product on the skin doesn’t belong in a finished gel service. Control the amount on the brush and maintain a clean margin around the nail.
Clean any accidental skin contact before curing. If the product pools after you finish a nail, correct it before placing the hand in the lamp. Working one nail at a time can give you more control with self-leveling formulas that move quickly.
Product temperature can affect how easily some gels move during application. Follow the manufacturer’s storage directions and avoid using a product that has become unusually runny or difficult to control. Better brush control keeps the layer even before curing begins.
Check Prep Problems Separately
Not every gel problem starts during curing. Lifting, peeling, or early separation can stem from surface preparation, even when the lamp cured the gel correctly. Treat adhesion and curing problems as separate checks so you don’t change the wrong part of your process.
Prepare the nail plate according to the gel system’s instructions. Remove surface contaminants and apply prep products in the correct order. Keep each product within the area the system directs you to use it.
If the gel cures hard but lifts later, review prep and application before blaming the lamp. If the gel leaves soft spots immediately after the cure cycle, first focus on thickness, lamp compatibility, cure time, and hand position.
Build a Consistent Cure Routine
Reliable gel curing comes from a repeatable technique. Troubleshooting gel-curing problems and making adjustments will often resolve the issue faster than repeating the entire service with the same setup. Thin out heavy layers or reposition the hand based on what you see. Correct lamp problems before repeating the cure cycle. Keep uncured product off the skin throughout the process, and remove any layer that remains soft after the recommended cycle.
A consistent routine gives DIY gel users a clear way to troubleshoot without guessing. Once you connect each symptom to its likely cause, curing problems becomes easier to correct and easier to prevent during future gel services.