

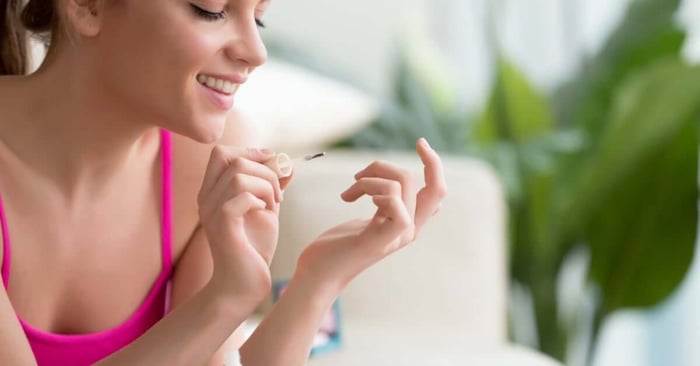

Doing your nails at home should feel relaxing, but a cluttered setup or rushed technique can turn a simple manicure into a frustrating project. A few practical changes can make each step smoother and easier to repeat. You don’t need a salon-sized collection or advanced training. You need dependable tools, compatible products, and a routine that gives every layer enough attention.
A stronger routine starts before you open any bottle. These tips will provide ways in which you can upgrade your at-home nail routine.
Set Up a Work Area
Choose a clean, flat surface in a well-lit area with enough room to work, for your LED lamp (if using), and to set up the products you plan to use. It’s best to set up indoors, because direct sunlight can affect open products. Good lighting is important, though, so you can spot lint, uneven coverage, and color in the cuticles; use a desk light if necessary. Arrange products in the order you’ll use them.
Upgrade Your Tools
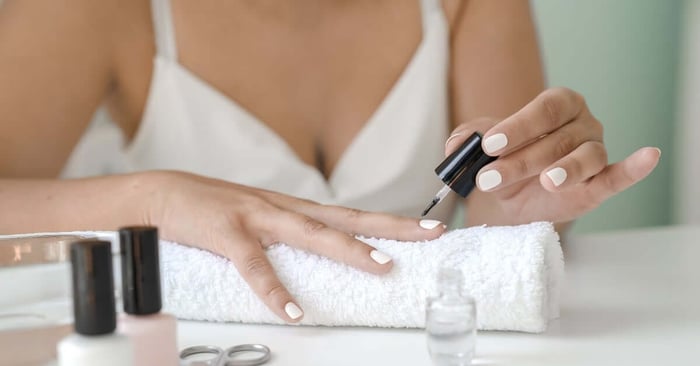
A few well-chosen tools can improve your final results more than a large collection of colors. Start with a quality nail file (no rougher than 180 grit if working with natural nails), a buffer, a cuticle pusher, lint-free wipes, a cleanup brush or orangewood stick, and a gel lamp that matches your product system if using. Replace worn files and damaged buffers. When you shop for nail supplies online, purchase products from the same company that work together as a system. This ensures compatibility and consistent Improve Nail Prep
Wash and dry your hands, then remove existing product. Start by shaping the free edge.
Next, gently push back cuticles and remove dead skin from the nail plate. Don’t nip or scrape at healthy tissue. Use a fine buffer to gently remove surface shine with light pressure. Aggressive buffing can thin the natural nail.
Brush away dust, then clean the nail plate with nail cleanser or prep liquid or even isopropyl alcohol and a lint-free wipe. Don’t touch the prepared nail with your fingertips, as natural oils can transfer back to the surface and interfere with adhesion.
Keep Layers Thin
Regardless of whether you’re working with lacquer or gel polish, thin, even layers cure more consistently and create smoother results. Thick application can cause pooling near the cuticle, wrinkling during curing, add unnecessary bulk, and create lifting or peeling. Wipe excess product from one side of the brush before placing color on the nail.
Start slightly above the cuticle, then guide the product toward the free edge. Leave a narrow gap between the color and the surrounding skin, and always cap the free edge (i.e., applying lacquer or gel to the edge of your nail).
Apply color in two or three thin coats rather than trying to achieve full coverage in one layer. Thick, highly pigmented coats of gel polish can block light from reaching the lower layer. Likewise, too thick nail polish will take forever to dry. Control the Cuticle Area
Flooded cuticles can ruin a good manicure, not only by looking messy, but it can cause premature lifting. Use less product near the base of the nail and around the sidewalls. Position the brush slightly away from the cuticle, push the lacquer or gel back with a controlled motion, then pull it toward the free edge.
Keep a cleanup brush or orangewood stick nearby. Dip it in acetone, wiping off excess liquid, then trace the skin around the nail. If working with gel polish, make sure that there is no residual product on the skin before curing under the lamp. For novice gel polish users, it’s often best to paint and cure one or two nails at a time to avoid gel self-leveling into the cuticles. Flash curing is also a handy technique to hold product in place until you’re ready to completely cure.
Add Simple Nail Art
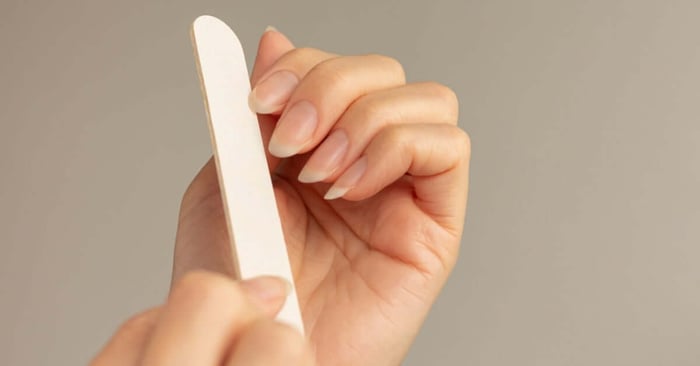
Nail art doesn’t require a large kit. A fine liner brush, dotting tool, sponge, and a few colors can create clean designs without excessive bulk. Start with lines, dots, color blocks, or small accents.
Apply art in thin layers and cure between steps when working with gel polish to avoid bleeding colors. Use a liner brush for curves and borders. Use a small sponge to create gradients by dabbing gel or lacquer onto the nail. Pigment powders are an easy way to add chrome or dimension to standard nail color.
Don’t forget to seal the design with top coat. Float the top coat over raised details instead of pressing the brush into the design. Check the edges before the final cure if working with gel polish.
Finish With Aftercare
As your final manicure step, apply cuticle oil to the skin around each nail and massage it in.
Maintain your manicure by taking extra care when using your hands. For instance, wear gloves during prolonged cleaning or dishwashing; avoid using your nails to open packages, scrape labels, or pry objects; and file any rough edges or hangnails before they catch.
Build a Repeatable Routine
An upgraded at-home nail routine doesn’t depend on buying every new product. It comes from creating a clean workspace, preparing the nail plate carefully, applying thin layers, and caring for your nails after the manicure is complete. These habits give you more control and make mistakes easier to prevent.
Start by improving one part of your process. Organize your tools, replace a worn file, or slow down near the cuticle area. Small technical changes can improve the entire set. With a repeatable routine and products that work together, your at-home manicures can look cleaner, feel more comfortable, and last through your normal schedule.
Give yourself time to refine the process with each manicure. Pay attention to where product tends to flood, which tools feel easiest to control, and how your nails respond after several days of wear. Those observations can help you adjust your technique without overcomplicating your routine. A thoughtful approach turns at-home nail care into a skill you can build confidently with every set.