

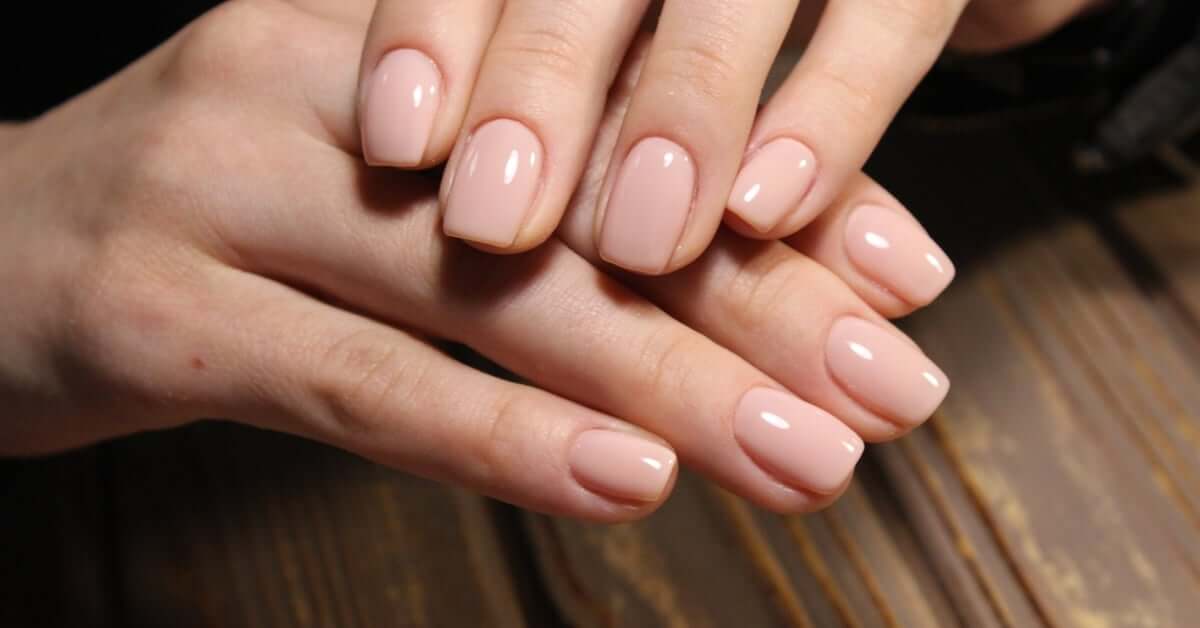

Soft gels are easy to underestimate because they look smooth in the pot and feel more forgiving than acrylic or hard gel. However, the product still needs clean prep, thin control, correct curing, and smart removal to perform the way it should.
Take a look at some of the most common mistakes others make when first using soft gels. If you want cleaner application and more predictable wear, you’ll need to build habits that support the product instead of fighting it.
Starting Before the Nail Is Fully Prepped
Soft gel adhesion starts with the natural nail. Oils, dust, overgrown cuticle, or moisture can interrupt the bond before the first layer cures. Even a smooth application can lift early if prep is rushed.
Push back the cuticle area, remove nonliving tissue from the nail plate, and cleanse the surface before applying product. Keep the prep controlled rather than aggressive. Over-buffing can thin the nail plate and create sensitivity, especially when soft gels are removed and reapplied often.
The nail should look clean, dry, and lightly refined. When prep is even across all nails, you can get more consistent performance from the gel.
Using Soft Gel Like Hard Gel
Soft gel has flexibility after curing. That movement is part of how it works on natural nails, overlays, and on short, wearable length tips. Problems start when a beginner tries to force soft gel to behave like hard gel by building too much height or using it for unsupported length.
Soft gel can add strength, but it is not always the right choice for long sculpted extensions. Longer free edges need structure that resists bending.
Choose the system based on the length, nail condition, and finished design. Short overlays, natural nail reinforcement, and soft gel tips fit the category well. For longer structured work, evaluate whether a stronger building system is needed before application begins.
Applying the First Layer Too Thick
A thick first layer creates several issues at once. It can flood the cuticle area, cure unevenly, or leave too much product around the sidewalls.
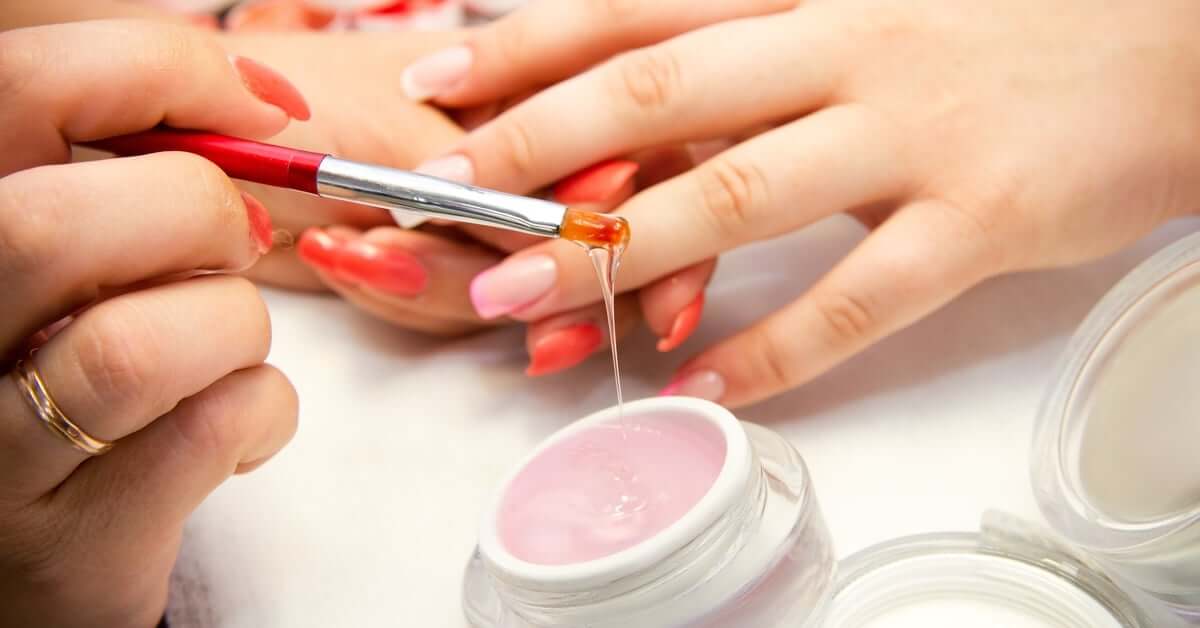
Use a thin base layer and keep the brush pressure light. Place the bead of gel slightly away from the cuticle, then guide it close without touching the skin. Use the brush to float the gel over the nail plate. If the gel gets into the sidewalls, clean it before curing instead of trying to file it away later, which can lead to lifting.
A controlled first layer allows for even curing and a smoother second coat. Mia Secret’s Formagel is designed for controlled, easy-to-work placement, so the gel can be guided evenly without overloading the nail with product. That added control makes it easier to keep the first layer thin and consistent, reducing the need to correct excess bulk later in the service.
Skipping Product Control at the Free Edge
The free edge is one of the first areas to show weak application habits. If the product is too thin there, wear can break down quickly. If it is too thick, the nail can look heavy and feel uncomfortable during daily use.
Cap the free edge in a controlled way instead of dragging a large amount of product over the tip. Check the edge from the front view before curing. The product should cover the edge without forming a ridge.
Curing Without Checking Product Placement
Soft gel is self-leveling but it can still move until it cures. A nail that looks clean when the product is first placed can shift before the hand enters the lamp. If the gel has pooled near the skin or settled into the sidewall, curing locks that problem into the set.
Pause before each cure and check the nail from more than one angle. Look at the cuticle line, sidewalls, surface height, and free edge. Correct any uneven areas while the gel is still uncured. If you struggle with product pooling, flash-cure the nail before fully curing under the LED light.
Use the cure time recommended for the product and lamp. Correct placement first, then cure fully.
Ignoring Heat Sensitivity
Heat spikes can happen as chemical bonds are created during the curing process. This often occurs when there’s too much gel on the nail, when the nail plate is thin, or when an incorrect LED/UV light is used.
Apply thinner layers and build gradually. If a nail feels uncomfortable during curing, push down on the finger pads to relieve the feeling or, if it feels too strong, remove the hand briefly, then return it once the sensation settles.
Nails that have been overfiled or have had gel repeatedly peeled off of them can react more strongly during soft gel application. Adjust the system or shorten the set if the natural nail needs recovery.
Filing Away the Structure You Just Built
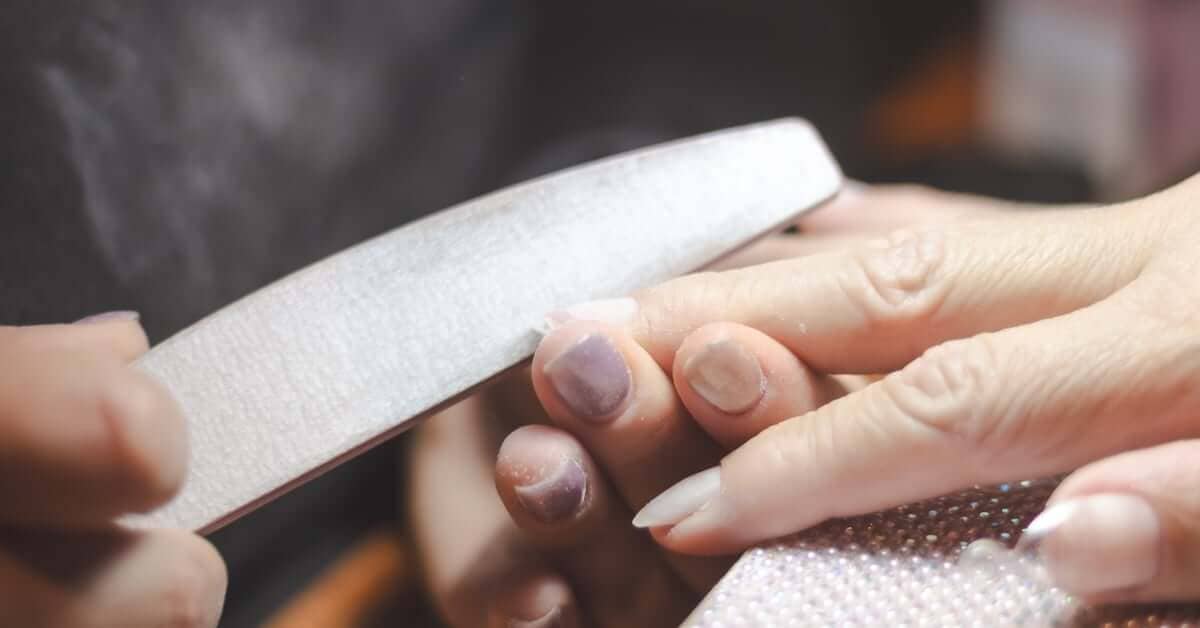
Soft gel often needs less filing than beginners expect. Over-filing can flatten the surface, thin the apex area, or break the seal near the edges.
Refine only what needs correction. Focus on obvious high spots, uneven edges, or product that sits too close to the skin. Avoid treating every nail like it needs a full reshaping session.
Mixing Incompatible Products
Soft gel systems work best when the base, builder, color, and finish layers are compatible. Mixing random products can lead to shrinking, peeling, dullness, or weak adhesion.
Before starting a full set, make sure the products are designed to work together. Pay attention to cure requirements, layer order, and whether or not the product is soak-off.
Build a simple setup before adding extra design products. Keep the first few sets simple enough to evaluate technique. A clear overlay, a short tip set, or a single-color finish makes it easier to see where the gel is moving, where thickness builds, and where lifting begins during wear.
A reliable soft gel routine should include:
- Cleansing and prepping the nail before any gel touches the surface
- Applying thin layers and curing each layer completely
- Sealing the surface and free edge before finishing the set
Removing Soft Gel Too Aggressively
Soft gel removal should protect the natural nail. Peeling or forcing the product off removes surface layers from the nail plate, weakening the nails and potentially affecting future adhesion. The next set may lift sooner because the foundation is already compromised.
Break the top seal by filing off the shine if required, then soak the nails in an artificial nail removal solution or pure acetone according to the product directions. Once the gel softens, remove it by gently pushing it off the nail with an orangewood stick; avoid without scraping into the natural nail. If product resists, continue soaking.
After removal, cleanse the surface and infuse moisture into the surrounding skin. If the nail feels thin, overly flexible, or tender, take a break before applying another full overlay. Better removal habits make the next application stronger.
Build Better Soft Gel Habits From the First Set
Soft gels are approachable, but they still require practice. Prep, application, curing, filing, and removal all shape the final result. When the same small mistakes repeat across a full set, the product can lift or feel thicker than intended.
The biggest mistakes to avoid when first using soft gels usually come from rushing steps that look simple. Slow down during prep, keep layers thin, check placement before curing, and remove the product without force.
For gel users building a more reliable routine, Mia Secret offers Formagel and complete soft gel nail systems designed for controlled application, flexible strength, and smooth finishing. Shop with us to build your soft gel setup with products that support cleaner technique from the first set.