

Are you ready to turn heads and transform your nail art into miniature masterpieces? Three-dimensional designs are your ticket to captivating clients and showcasing true creativity. If you’ve already nailed the basics of acrylic applications, it’s time to step boldly into the world of 3D sculpting, where flowers bloom, bows pop, and hearts practically leap off the nail.
With the following tips for creating 3D art with acrylic powders, you’ll build confidence in your skills and discover how rewarding it is to be able to charge more for your nail art. Let’s jump in and uncover the secrets that will elevate your nail artistry to unforgettable heights.
Master Your Bead Consistency
The key to successful 3D work starts with getting your acrylic bead just right. You want a consistency that's slightly dryer than what you'd use for traditional nail enhancements. This consistency allows the product to hold its shape while giving you enough working time to sculpt and refine your design.
Pick up a bead of acrylic with your brush. Watch how it behaves; it should roll smoothly without dripping or crumbling. If you notice your beads are too dry or too runny, adjust your liquid-to-powder ratio incrementally until you achieve the ideal balance.
Temperature also affects consistency, so keep your products in a stable environment. If your bead dries too quickly, you'll struggle to create smooth shapes. Practice makes perfect here, so don't get discouraged if your first few attempts don't look Instagram-ready.
Build Your Design in Layers
Trying to create an entire 3D flower or bow in one go will leave you frustrated. Instead, work in stages and let each element cure before adding the next. Start with your base petals or foundation pieces, then build upward and outward. This approach provides your design with stability and prevents pieces from collapsing into one another.
Building in layers also lets you adjust the placement and thickness of each part, allowing you to maintain control of your design. If a petal or shape doesn’t turn out as planned, working in layers makes it easier to remove or reshape before completing the design.
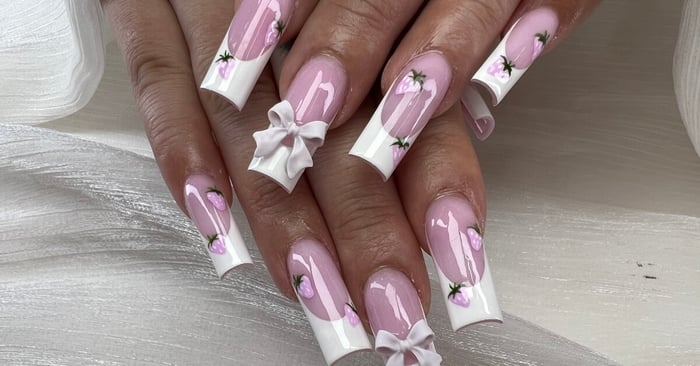
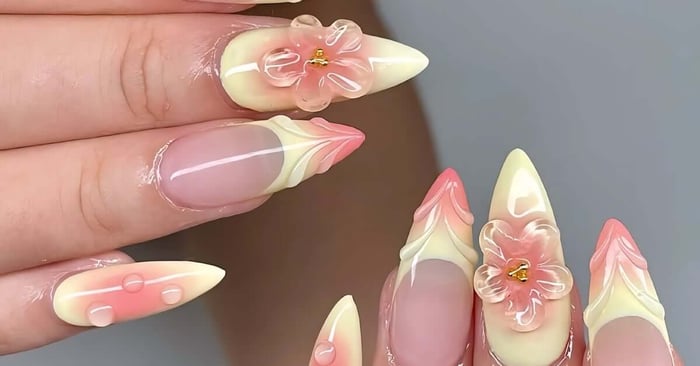
For flowers, create the center first, then add petals one at a time around the outside. Each layer needs a moment to harden before you proceed. For bows, shape the loops individually before adding the center knot.
For many beginners, sculpting acrylic 3D designs can take longer than your service time allows. Instead, you can make your own flowers, bows and other embellishments on a piece of form paper or tinfoil in advance, and save them to adhere to your clients’ nails at their appointment. This also allows you time to practice and perfect your designs before adding them to your clients’ nails.
Your products for acrylic nails will affect the drying time, so get familiar with how your specific brand behaves. Patience during this process leads to cleaner, more professional results.
Use the Right Tools for Sculpting
Your brush does the heavy lifting, but other tools help refine your 3D creations. Consider adding these to your toolkit:
- Dotting tools in various sizes for creating perfectly round centers and texture.
- Fine-tipped brushes for adding delicate details and thin lines.
- Metal cuticle pushers for creating sharp edges and defining shapes.
- Silicone-tipped shapers for smoothing surfaces without disturbing wet acrylic.
Each tool serves a specific purpose and expands what you can create. Using a variety of tools allows you to experiment with textures, from smooth surfaces to intricate embossed patterns. High-quality sculpting tools help you achieve precise details and prevent the product from sticking, especially when working on fine lines and delicate shapes.
Keep your brushes clean and conditioned so they maintain their shape and don't fight you during application. Store them flat or hanging to preserve the bristles. A dedicated 3D art brush works differently from your regular application brush. It typically has a longer, more tapered shape that gives you better control. Invest in quality tools rather than buying cheap versions that'll frustrate you and break quickly.
Perfect Your Pressure and Placement
How you hold your brush and the pressure you apply determine whether your 3D art looks refined or sloppy. The right amount of pressure prevents the acrylic from spreading too thin or losing its defined edges, keeping your designs crisp.
Adjusting your brush angle and pressure as you build layers helps you create depth and dimension without accidentally flattening your sculpted elements. Light pressure creates delicate, realistic petals and details. Heavy-handed application produces bulky, cartoon-like results.
As you add each element, consider how it interacts with the rest of your design to create a sense of harmony. Perfect symmetry isn’t always necessary, but achieving balance makes your work more visually appealing.
Take a step back every so often to assess your design as a whole, instead of getting caught up in the smallest details. Viewing your work from a distance helps you spot proportion or placement issues you might overlook up close.
Finish Strong With Proper Sealing
Your 3D art needs adequate protection to survive daily wear and tear. Once your design has fully cured, apply a thin layer of clear acrylic or gel top coat over the entire nail, including the dimensional elements. Work carefully to avoid flattening delicate details or creating air bubbles around raised areas.
Some artists prefer to seal only the flat portions of the nail, leaving the 3D elements uncoated for a matte contrast. This approach works for specific designs but leaves them more vulnerable to damage.
Whatever method you choose, explain proper aftercare to your clients. Dimensional art can snag on clothing, hair, and objects more readily than flat designs. Clients should adjust how they use their hands during the first few days as they adapt to the added height.
Turn Practice Into Show-Stopping Art
These tips for creating 3D art with acrylic powders allow you to elevate your salon offerings and truly stand out as an artist. The more you practice, experiment, and refine your skills, the more your confidence and creativity will shine, leading to satisfied clients and an impressive portfolio of dimensional designs. Keep pushing your boundaries with the professional nail and beauty systems from Mia Secret.